All Categories
Featured
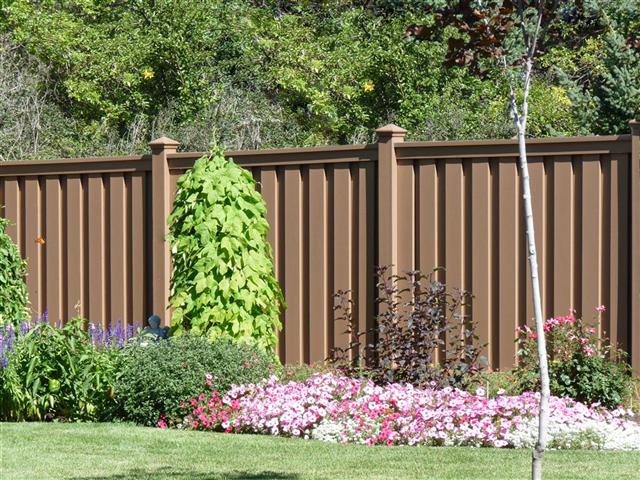
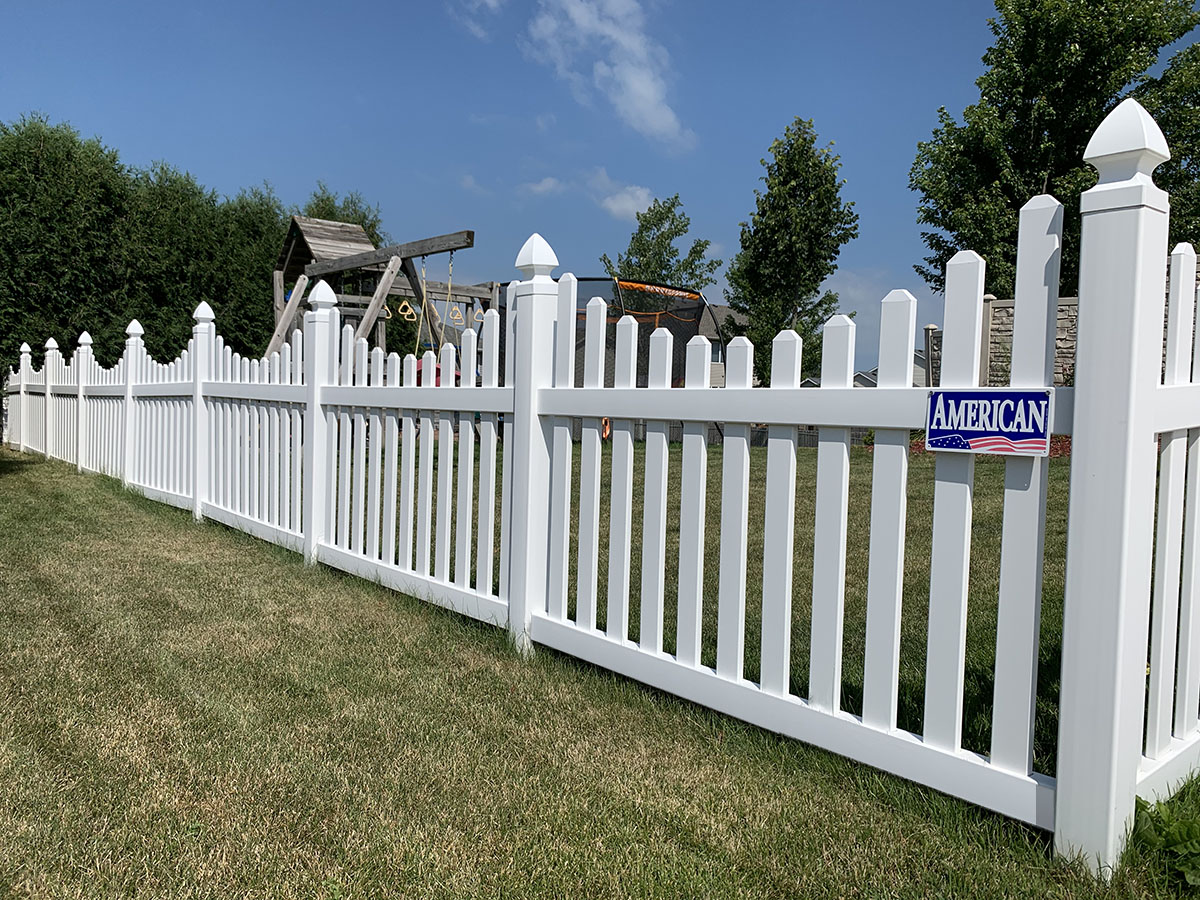
A leaning or harmed fencing post can be a major aggravation, affecting the stability of your entire fence. Whether as a result of weather, aging, or exterior stress, a leaning fencing article can cause a sagging or unequal appearance that not only compromises your fencing's stability yet likewise its protection. Dealing with a leaning or damaged fence blog post is a convenient DIY task. Here's exactly how to tackle the problem and restore your fencing to its initial problem.
![]()
Dirt disintegration: In time, the dirt around the base of the message may erode because of heavy rain or flooding, causing the post to lean. Rot: Wood fence articles can rot at the base because of long term direct exposure to wetness, causing instability. Pressure: Outside pressures such as wind, the weight of the fence, or leaning branches can cause the post to lean or damage. As soon as you have actually identified the type of damage, you can choose the most proper solution.
Choice 1: Concrete: Prepare a bag of quick-setting concrete mix. Comply with the maker's directions for the right water-to-mix ratio. Put the concrete around the base of the message, filling up the hole. See to it the post continues to be level as the concrete collections. It usually takes regarding 20-30 mins to start establishing, but it's best to leave it uninterrupted for 24 hr for full healing.
Alternative 2: Gravel: If you favor a quicker, less long-term fix, you can use gravel rather of concrete. Pour crushed rock around the base of the article, ensuring it's stuffed securely. This alternative permits better drainage around the base, which can protect against more rot and leaning in the future.
![]()
Action 1: Remove the broken or deteriorated post by loosening the concrete or gravel around it utilizing a sledgehammer or message puller. Action 2: Once the post is gotten rid of, prepare the opening for the brand-new blog post by ensuring it's deep sufficient to fit the new message and the product for reinforcement (concrete or crushed rock) Action 3: Mount the brand-new post in the hole, making sure it's degree and aligned with the other posts. Tip 4: Adhere to the very same actions for securing the new article as detailed previously, either using concrete or crushed rock for security. 6. If Required), reinforce with Dental Braces (. If the article is still not secure after correcting and protecting it, take into consideration strengthening it with additional support. You can use an angled support to hold the blog post upright up until the concrete totally sets or as an irreversible support. Affix one end of the support to the top of the post and the various other end to a close-by fencing blog post or strong support. This will stop the blog post from leaning once again.
![]()
Final thought. Fixing a leaning or damaged fence message is an easy yet gratifying job that can recover your fencing's security and look. By complying with these steps and resolving the origin of the issue, you can guarantee that your fencing remains secure and upright for many years to find. Whether you're aligning a leaning blog post or replacing one that's beyond repair, taking care of your fence messages without delay will aid you maintain the integrity and safety of your fencing.
- Examine the Damages. Before you start repairing the leaning fence article, it is necessary to assess the damage extensively. Identify whether the post is just leaning or if it's split, decomposed, or broken at the base. Common causes for leaning fencing articles include:
Dirt disintegration: In time, the dirt around the base of the message may erode because of heavy rain or flooding, causing the post to lean. Rot: Wood fence articles can rot at the base because of long term direct exposure to wetness, causing instability. Pressure: Outside pressures such as wind, the weight of the fence, or leaning branches can cause the post to lean or damage. As soon as you have actually identified the type of damage, you can choose the most proper solution.
- Dig Around the Base of the Blog post. To take care of a leaning blog post, you'll need to subject the base. Begin by excavating around the base of the post with a shovel, creating an opening regarding 12 inches vast and 18 to 24 inches deep. Beware not to harm the article additionally as you dig. You intend to see to it the dirt surrounding the post is loosened enough to permit repositioning or added assistance.
- Straighten out the Blog post. If the post is only leaning and not badly harmed, you can correct it before securing it once again. Utilize a level to make certain the post is lined up effectively, making certain it's vertical. You might need an assistant for this step to keep the post in area while you include support.
- Add New Concrete or Crushed Rock. To enhance the post and avoid future leaning, you will certainly require to add brand-new concrete or gravel to the base. Here's exactly how to do it:
Choice 1: Concrete: Prepare a bag of quick-setting concrete mix. Comply with the maker's directions for the right water-to-mix ratio. Put the concrete around the base of the message, filling up the hole. See to it the post continues to be level as the concrete collections. It usually takes regarding 20-30 mins to start establishing, but it's best to leave it uninterrupted for 24 hr for full healing.
Alternative 2: Gravel: If you favor a quicker, less long-term fix, you can use gravel rather of concrete. Pour crushed rock around the base of the article, ensuring it's stuffed securely. This alternative permits better drainage around the base, which can protect against more rot and leaning in the future.
- Replace the Article (If Required) It might be best to replace the blog post totally if the blog post is drastically damaged or decomposed at the base. This procedure includes eliminating the harmed blog post, which can be challenging if it's deeply ingrained in concrete or gravel. Right here's how to replace it:
Action 1: Remove the broken or deteriorated post by loosening the concrete or gravel around it utilizing a sledgehammer or message puller. Action 2: Once the post is gotten rid of, prepare the opening for the brand-new blog post by ensuring it's deep sufficient to fit the new message and the product for reinforcement (concrete or crushed rock) Action 3: Mount the brand-new post in the hole, making sure it's degree and aligned with the other posts. Tip 4: Adhere to the very same actions for securing the new article as detailed previously, either using concrete or crushed rock for security. 6. If Required), reinforce with Dental Braces (. If the article is still not secure after correcting and protecting it, take into consideration strengthening it with additional support. You can use an angled support to hold the blog post upright up until the concrete totally sets or as an irreversible support. Affix one end of the support to the top of the post and the various other end to a close-by fencing blog post or strong support. This will stop the blog post from leaning once again.

- Routine Upkeep. Make certain to frequently inspect the posts for signs of damage or leaning once the leaning article is dealt with. Examine the condition of the wood or various other materials made use of in your fencing to avoid future issues. If you live in a location susceptible to heavy rains or soil disintegration, consider including additional assistance to your blog posts by utilizing concrete or gravel and making sure proper drain around the blog posts.
Final thought. Fixing a leaning or damaged fence message is an easy yet gratifying job that can recover your fencing's security and look. By complying with these steps and resolving the origin of the issue, you can guarantee that your fencing remains secure and upright for many years to find. Whether you're aligning a leaning blog post or replacing one that's beyond repair, taking care of your fence messages without delay will aid you maintain the integrity and safety of your fencing.
Latest Posts
Practical Sophistication for Every Home
Published Apr 20, 25
1 min read
Flooring Professionals Who Treat You Like Household
Published Apr 20, 25
1 min read
Fast & Reliable Auto Repairs - Book an Appointment with Montclare Auto Repair Today
Published Apr 20, 25
2 min read